I'm Painting the 94 SC2 (again)
#1
 07-27-2016, 02:27 AM

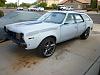
This looks as good as a place as any to Chronical getting the 22 year old car looking good again. These doggone coupes were good looking when they were new and some one just repainted a 96 a turquoise. And as long as pretty much what is left of the auto industry seems to think everyone wants to purchase a 4 door sedan I am not sure when another coupe will actually be built. So I guess I had better complete this (again). I came back from the paint store 2 days ago with $700.00 worth of paint and painting materials to re-do this and others, but this one in the 1995 Black Gold Paint color it was originally. So here it is in primer. A lot of sanding needs to be done before it gets it's color back and I need to "jam" it first but all it takes is time. And as long as the day time temperature is 115 degrees, it looks like early in the AM is where it gets done so far. I have a car cover to keep on it as I work on it so it will get done in stages, this of course represents 1st and 2nd stage.
The paint used will be single stage acrylic enamel. This time.
This is where I work on projects, early morning is a good time and the house gives me shade until about 10AM at which point the temperature rises exponentially. Specially when it is 115.
The paint used will be single stage acrylic enamel. This time.
This is where I work on projects, early morning is a good time and the house gives me shade until about 10AM at which point the temperature rises exponentially. Specially when it is 115.
Last edited by uncljohn; 07-27-2016 at 02:31 AM.
#2
07-27-2016, 09:09 AM
Looking good, Unc. Slow and steady wins the race. When you're done with it, can I have it? I promise to love it and cherish it.
#3
08-14-2016, 09:07 AM
An update for the time being,
Starting to process the primer. Keeping in mind the failure mode was the clear coat delaminating from the base coat as a 2 part function of waiting too long to apply it AND the sun destroying the clear coat via heat etc, it did some interesting damage. So the primer is being wet sanded using a 5 inch d/a with 220/240 paper and water and a soft pad on the D/A. This lets the D/A work around curves and up to edges. The "D/A is air operated so no chance of electrocuting yourself. The sander itself is a light unit purchased from HARBOR Freight and the pad on it is about 3/8 inch thick. In about 2 to 3 hours a significant portion of the primer was smoothed down as needed and is capable of being painted over. However as there are a multitude of area's of the body where a 5 inch pad can not get into, that will be handled by block sanding with wet/dry paper and some hand pads hat will allow getting into corners and up to edges. That will be a job for after church today. Depending on how that goes the next step will be to "Jam" the doors so when opened things will look nice. The next steps proposed will be to actually paint the body and then when that is done using rustoleum in black and with a spray can or doing the same thing with a cheap harbor freight air brush, paint out the fender wells to restore the "undercoating" black color in the wheel wells. All things considered I think this is coming along nicely so far. I think the end result will restore the appearance of the car which is the objective
Starting to process the primer. Keeping in mind the failure mode was the clear coat delaminating from the base coat as a 2 part function of waiting too long to apply it AND the sun destroying the clear coat via heat etc, it did some interesting damage. So the primer is being wet sanded using a 5 inch d/a with 220/240 paper and water and a soft pad on the D/A. This lets the D/A work around curves and up to edges. The "D/A is air operated so no chance of electrocuting yourself. The sander itself is a light unit purchased from HARBOR Freight and the pad on it is about 3/8 inch thick. In about 2 to 3 hours a significant portion of the primer was smoothed down as needed and is capable of being painted over. However as there are a multitude of area's of the body where a 5 inch pad can not get into, that will be handled by block sanding with wet/dry paper and some hand pads hat will allow getting into corners and up to edges. That will be a job for after church today. Depending on how that goes the next step will be to "Jam" the doors so when opened things will look nice. The next steps proposed will be to actually paint the body and then when that is done using rustoleum in black and with a spray can or doing the same thing with a cheap harbor freight air brush, paint out the fender wells to restore the "undercoating" black color in the wheel wells. All things considered I think this is coming along nicely so far. I think the end result will restore the appearance of the car which is the objective
#4
08-14-2016, 05:18 PM
Sorting out tools I have not used in 10 years and getting things orchestrated and repaired so they are useful was the primary objective of today, however about 3 hours after church were spent sanding and things are working out well. I stopped down to Starabucks to get a mocha this morning along with a doughnut and there sitting in front was a brand new 1995 coupe in Turquoise. At least it looked new, I have seen it before but the owner walked out, a young man who said his God Parents gave him the car. It is polished and shiny to a fare the well! He said he likes it and it has about 117,000 miles on it. I had forgotten how bloody sharp the S coups were, yes mine is in the driveway but the paint looked like heck for so long I envied the appearance of the thing. Oh Well, the sanding is on going and things are working well. I am satisfied with today progress. I'm tired and hot so on to tomorrow.

#6
08-27-2016, 11:22 AM
Painting prep is continuing, I thought I would have some pictures to show process at this point in time, but have hit a wall on getting things accomplished.
The basic reason for the paint job is that the clear coat/base coat paint I applied a number of years back, delaminated the clear coat after about 3 years. It took me a while to determine the reason for that was that the clear coat should have been applied while the base coat was still wet or something like a maximum of 45 min. after the base coat was applied at 75 degrees.
And I missed that window by a few hours.
That window is there to allow a chemical bonding to take place when the whole shooting match dries and cures.
Oh Well.
I figured it has been eight years since I screwed up, how hard is it to color sand things down to eliminate potential damage areas, prime and repaint.
And it turned out harder than I thought.
The problem has become once the finish is sanded down which exposes the interface between the base and clear coat, the chemistry is still causing a problem. If I leave it sit a couple of days which is normal so to speak, that interface area gets bothered by the weather and ends up with a surface interface problem with the primer.
And I have ot been able to get it coated in time to call it good to go because if I paint primer over that material interface line it shows upin the primer and it will not block sand out.
I have to block sand and prime before the chemistry action takes place.
n some cases it has not been a problem, in others it is.
So I will try to accomplish this some time next week by masking the car and then using green scrubby pad material, tackle the damaged are so it is smooth, blow off the dust and hit it with High Build primer before the chemistry is bothered.
If that does not work, PPG has the primier it recommends using when you do not hit the application window to prime the base coat with before the clear coat is applied. I will purchase some of that and use it to prime the base coat before the high build primer is applied.
That will probably work but as money is getting tight the present material I have with out the need to spend more money and if it worksI am ok.
Pictures do not show that well.
So I don't have any.
But once I solve that problem I will get some more pictures of what is taking place.
I deal with one of the many automotive paint stores here in greater Phoenix which is nice because the latest in technical materials is available.
Masking door openings has always been a problem for me but I have gotten around them. I now have a budget material that looks like making tape on a rope (rather than soap on a roap) that you appliy to the edge of the opening and close the door on it. That action squishes the material so that it blocks the crack between the door and the door jam which keeps paint from entering and messing up the painting done to "Jam" the door opening. It is cost effective for a back yard painter like myself.
I have GREEN masking tape in widths ranging from 2" to 3/16" to make masking work out well. GREEN is the color to get for automotive painting. Blue for the house and yellow or cream or what ever for doing other things.
Those ads you get in the mail announcing something you can not live with out as long as you bring money, printed on light card board are perfetct for holding up around things to keep paint from getting to them.
And a cheap air brush is perfect for doing small items or small surface area's. I buy them from Harbor freght. They are cheap, they leak and the last for a while, but for certain jobs they are perfect and cheap enough to throw away when that job or two are done.
I'm getting used to my Dodge \Caravan, the only real complaint I have with it is that it is hard to see out of when backing. If I could get the head rests to lower that probably would solve it, but when I will worry about that later.
John
Last edited by uncljohn; 08-27-2016 at 11:27 AM.
#7
08-27-2016, 07:37 PM
Uh-oh, better get Maaco! LMAO Just kidding Unc. I have all the confidence in the world that you'll get it done to your satisfaction, eventually. Hang in there with it.
#8
08-30-2016, 01:37 PM
I'm tired and my back hurts. I think being 74 has a lot to do with it. I just finished doing the repairs on the prime paint job and the feeling is I resolved the problems I was fighting. No pictures, I'll take those when I have something constructive to say! And I am less tired.
I'll get the tools out to block sand the body and "Jam" the doors. Like I said, I feel good about what took place today. But to tell the truth, the failure of the base coat clear coat to dry correctly sure screwed things up.
I'll get the tools out to block sand the body and "Jam" the doors. Like I said, I feel good about what took place today. But to tell the truth, the failure of the base coat clear coat to dry correctly sure screwed things up.
#9
08-30-2016, 11:40 PM
It's guys in their 70's like you, refusing to give up or stop doing a passionate activity (we all know it would be an insult to refer to this as your hobby) simply because their bodies are putting up a fight, that make guys reaching 50 want to consider even living to 74.
Your body wants to say no but you mentally overcome that on a daily basis to continue doing the things that bring you joy in this world.
Hats off, Unc.
Hats off.
Keep on movin'....straight ahead......(Jimi)
Your body wants to say no but you mentally overcome that on a daily basis to continue doing the things that bring you joy in this world.
Hats off, Unc.
Hats off.
Keep on movin'....straight ahead......(Jimi)
#10
08-31-2016, 12:07 AM
Today has worked out well and shown up the fact I am getting older. Two subjects then, one good the other questionable.
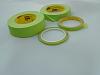
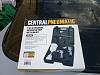
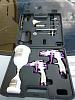
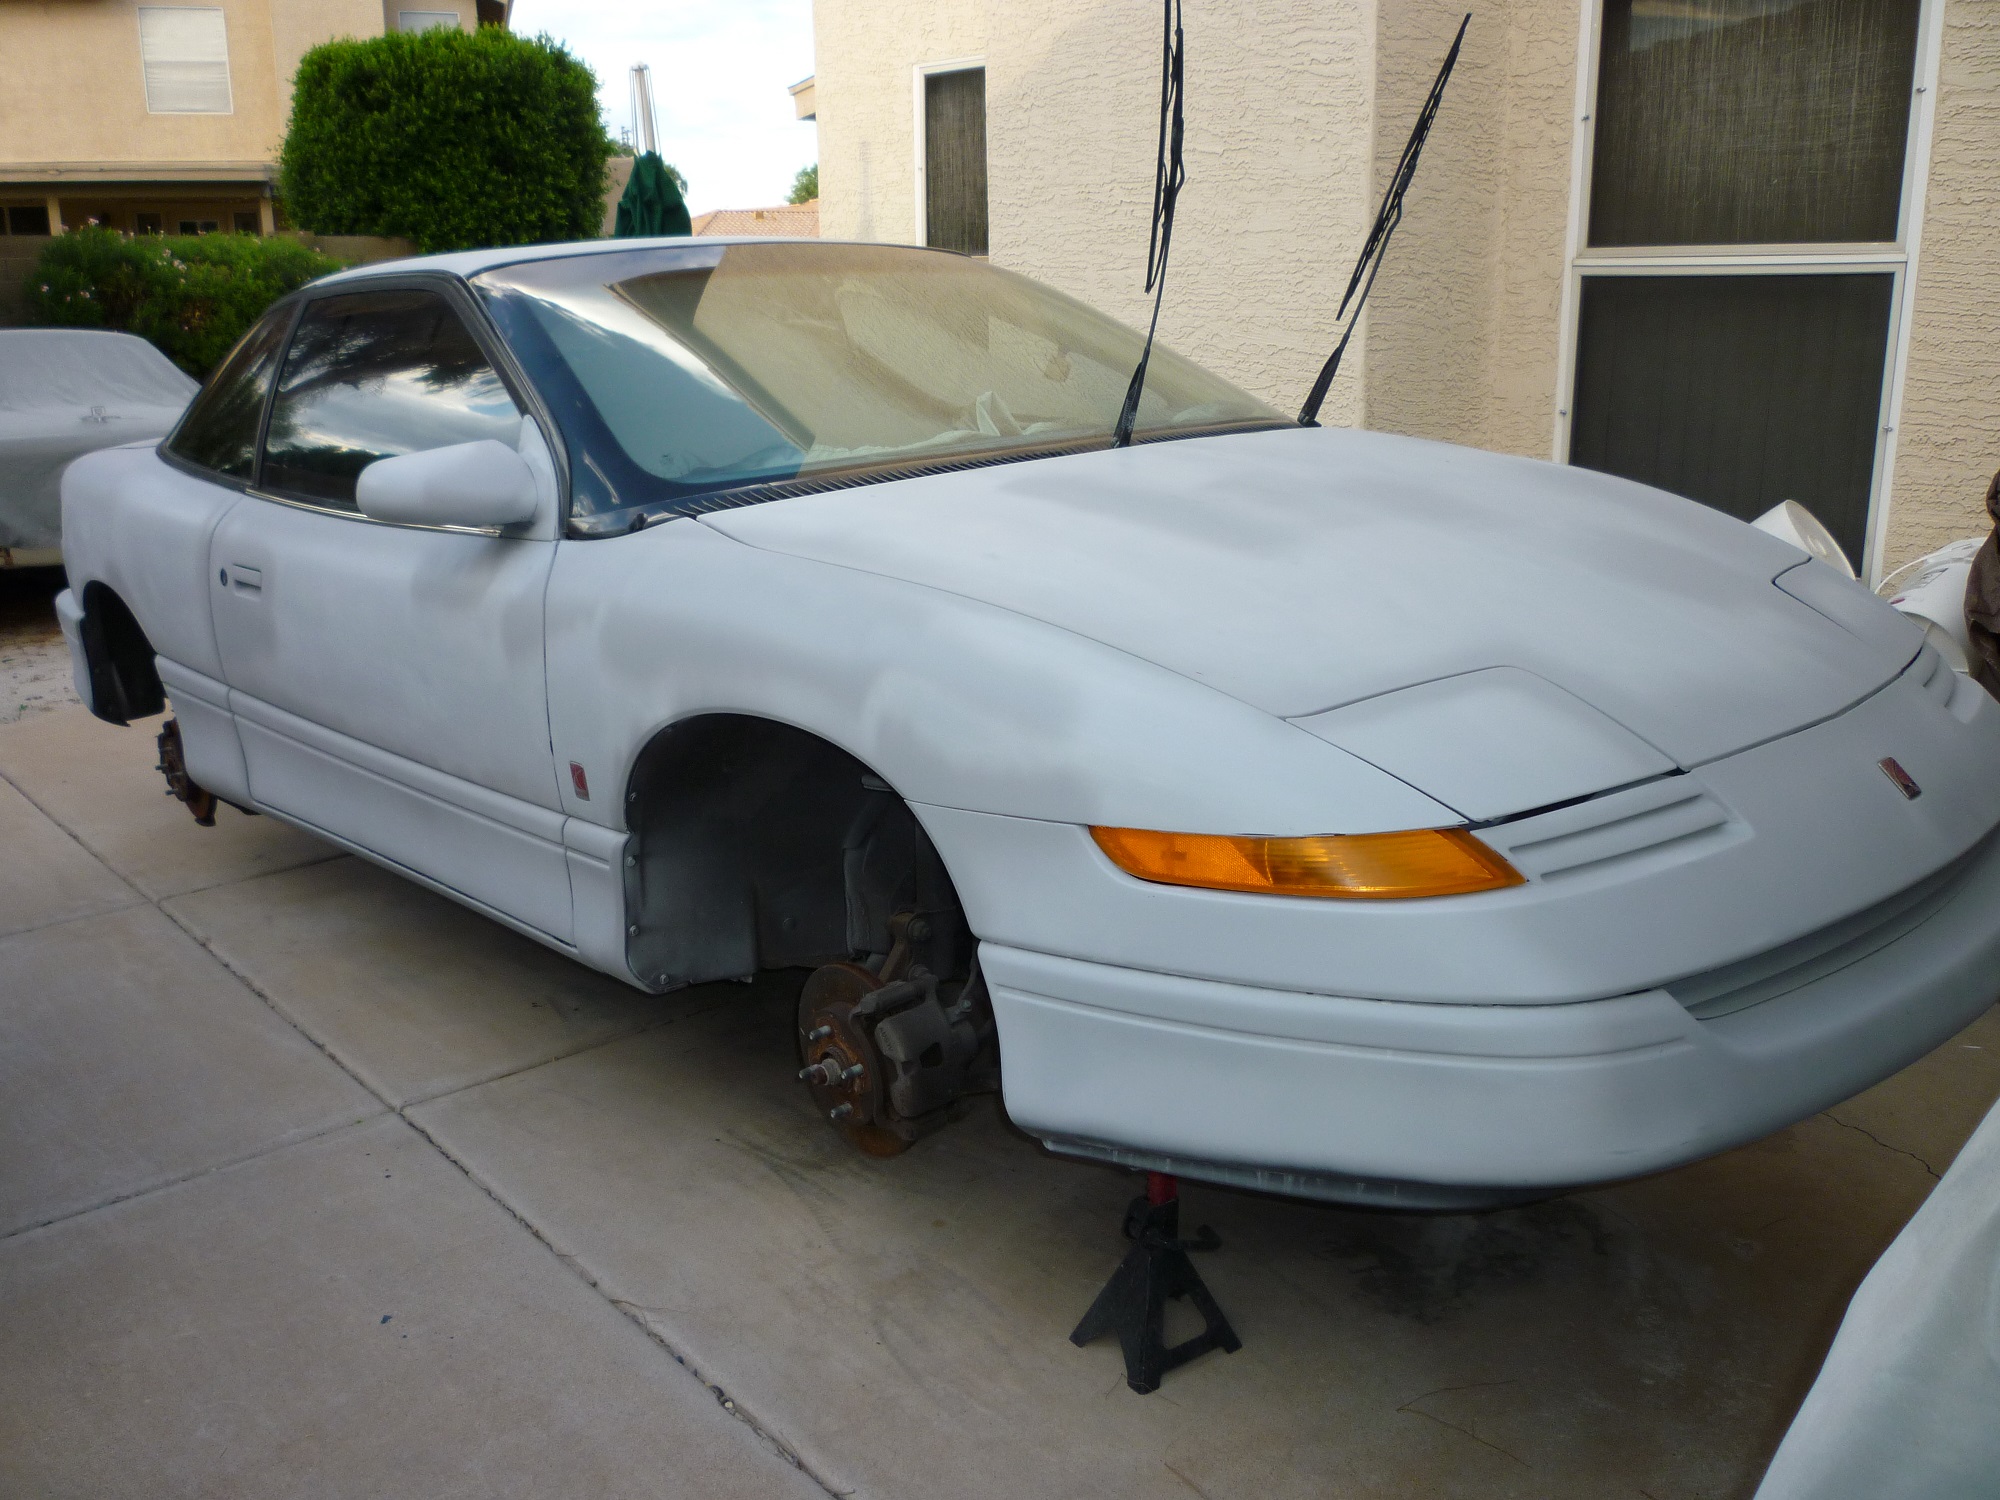
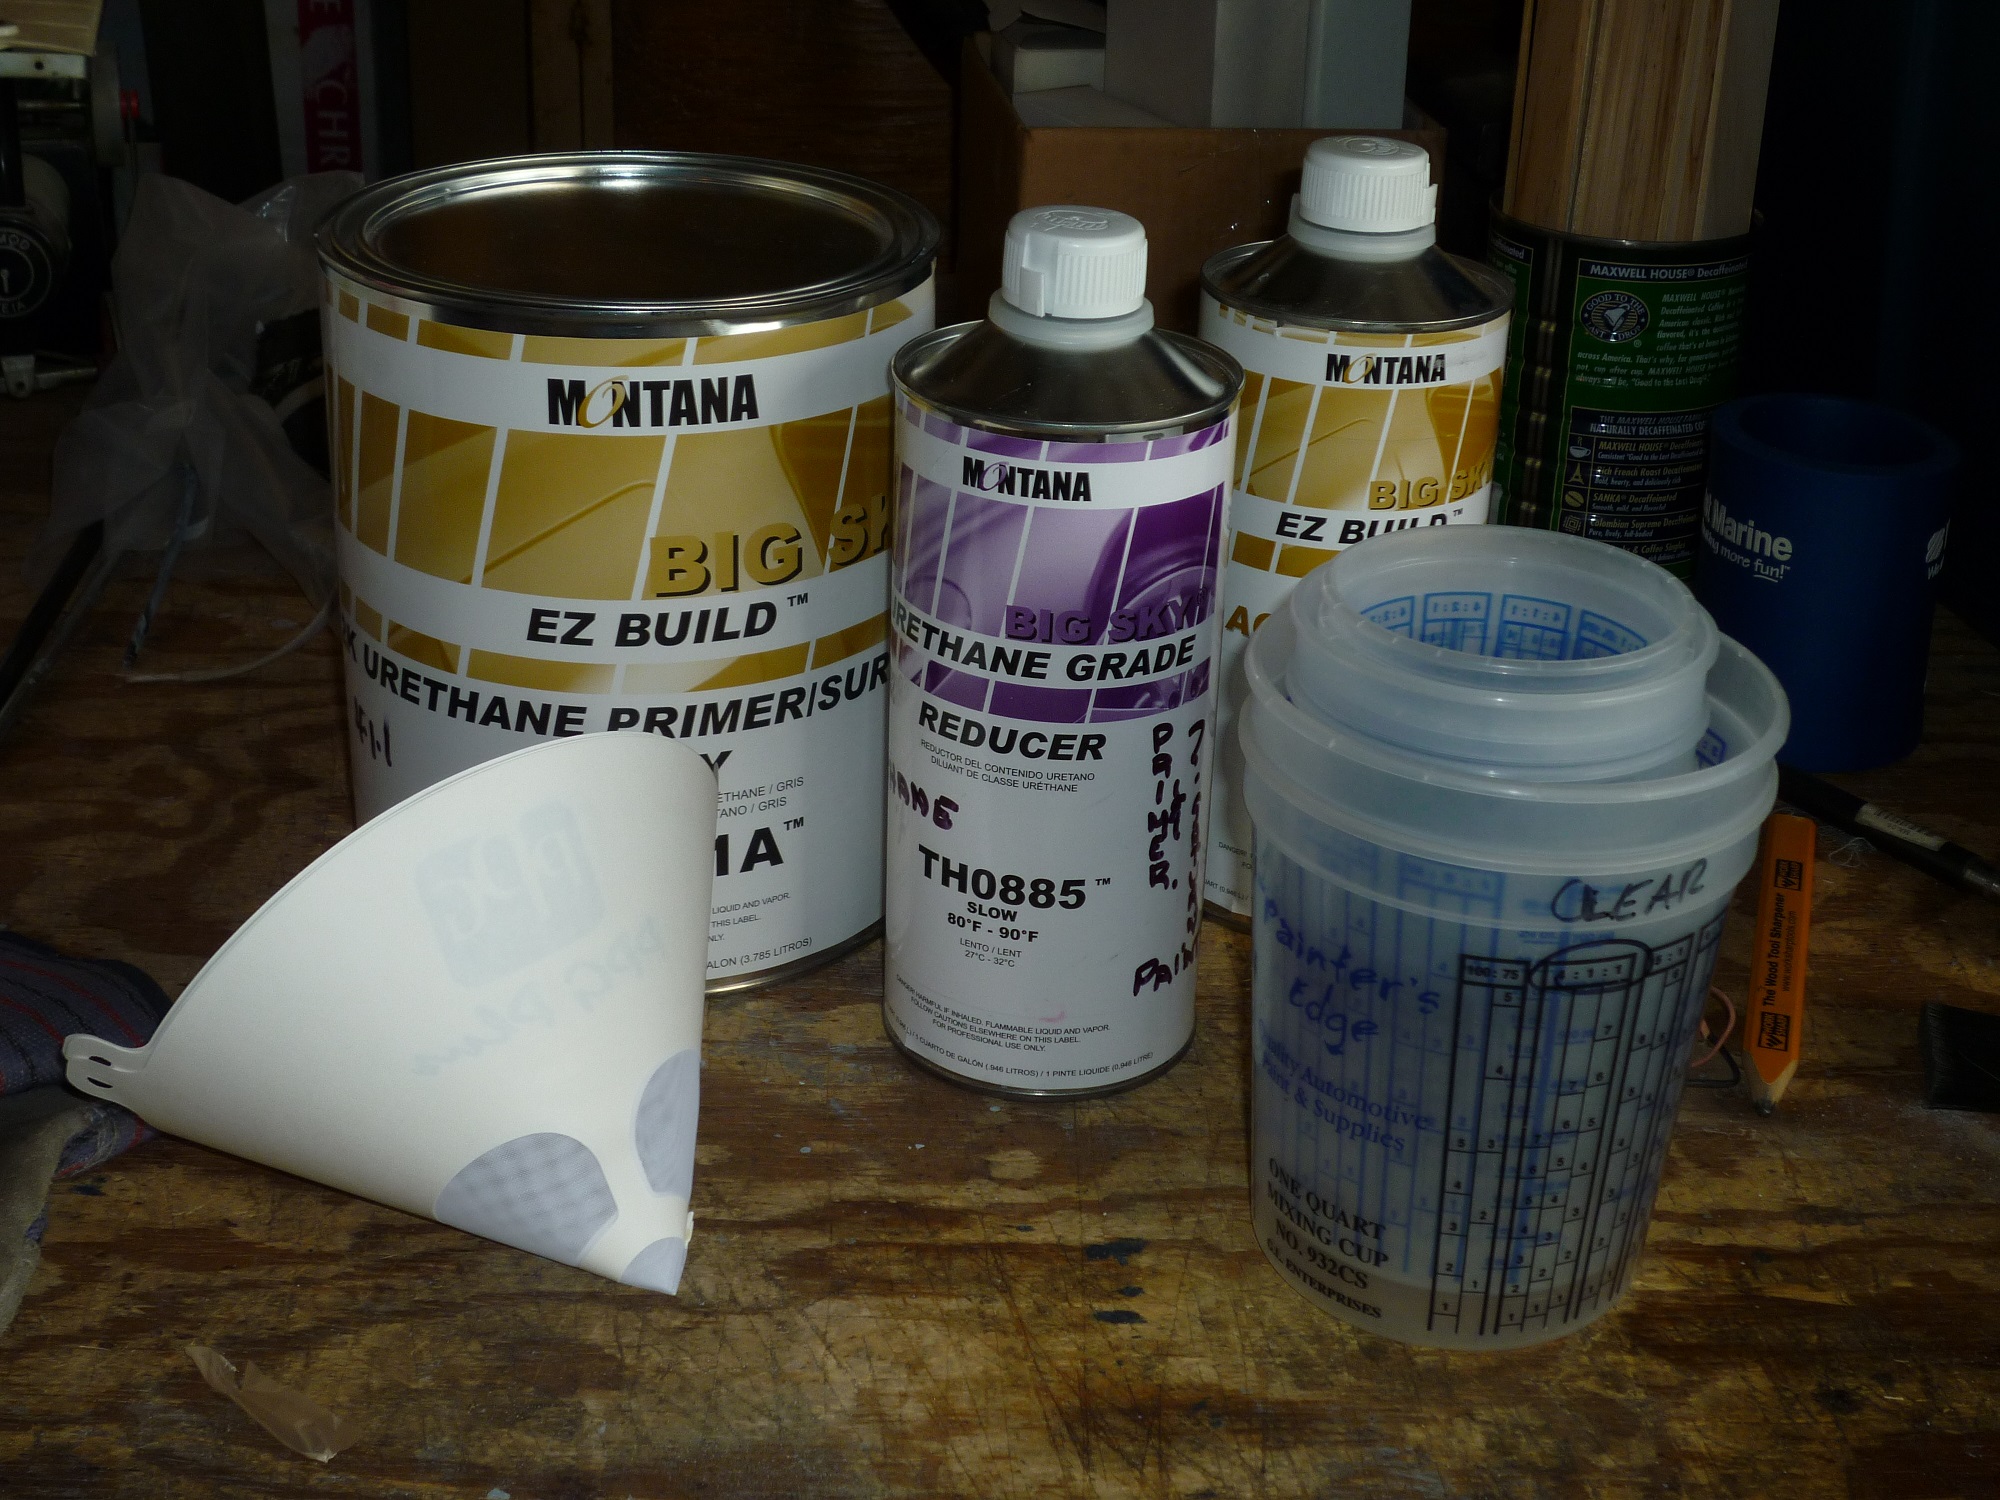
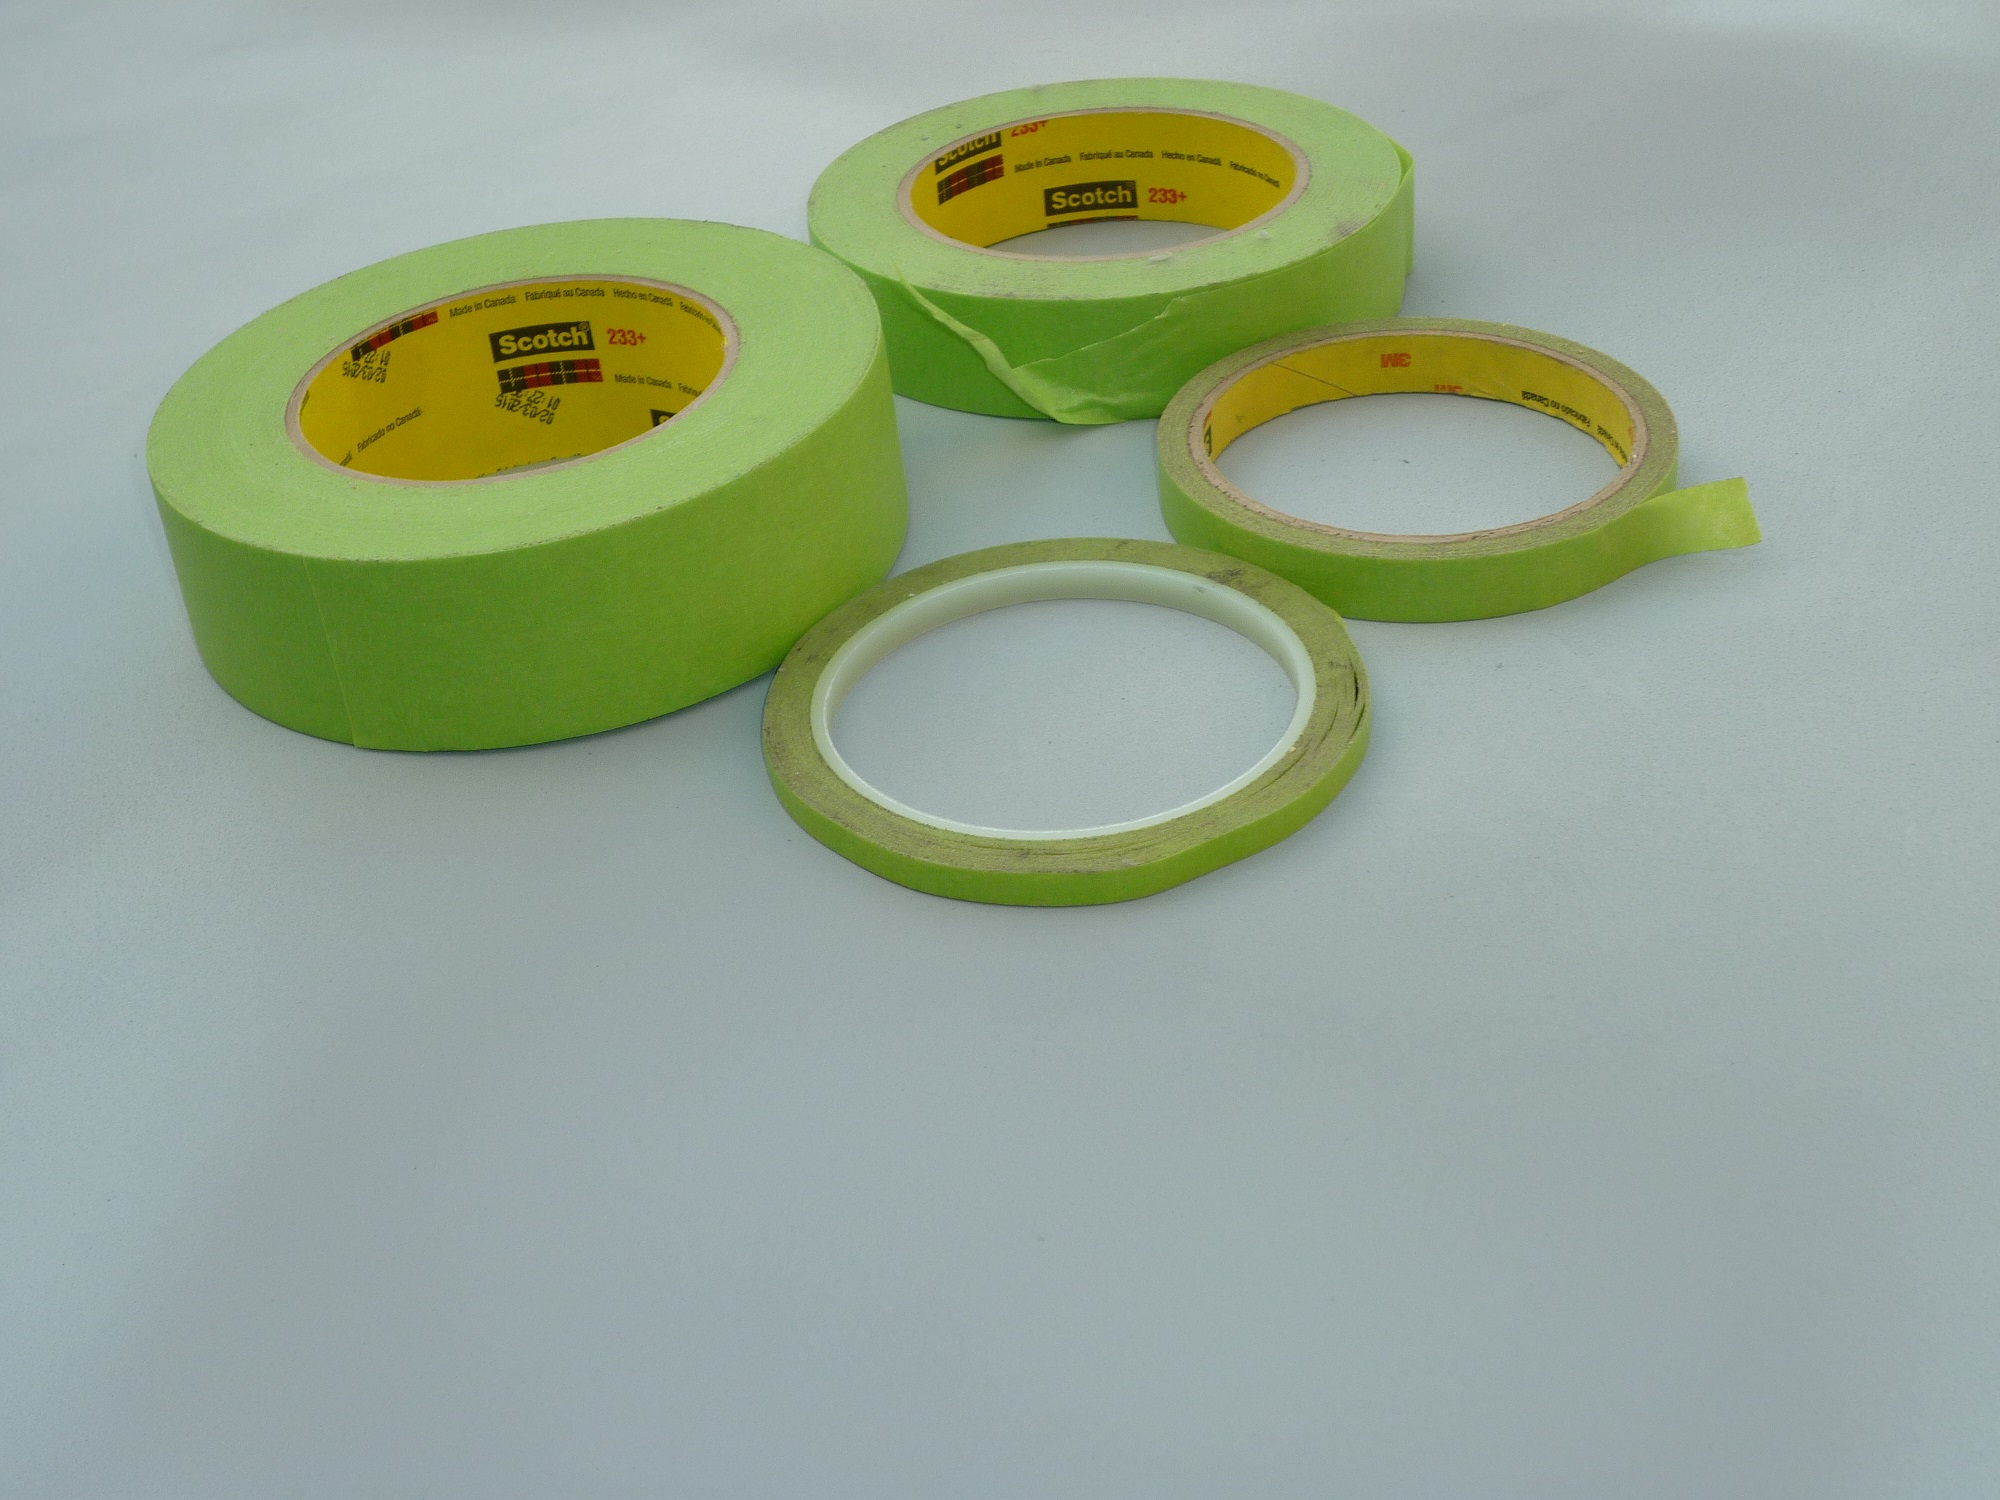
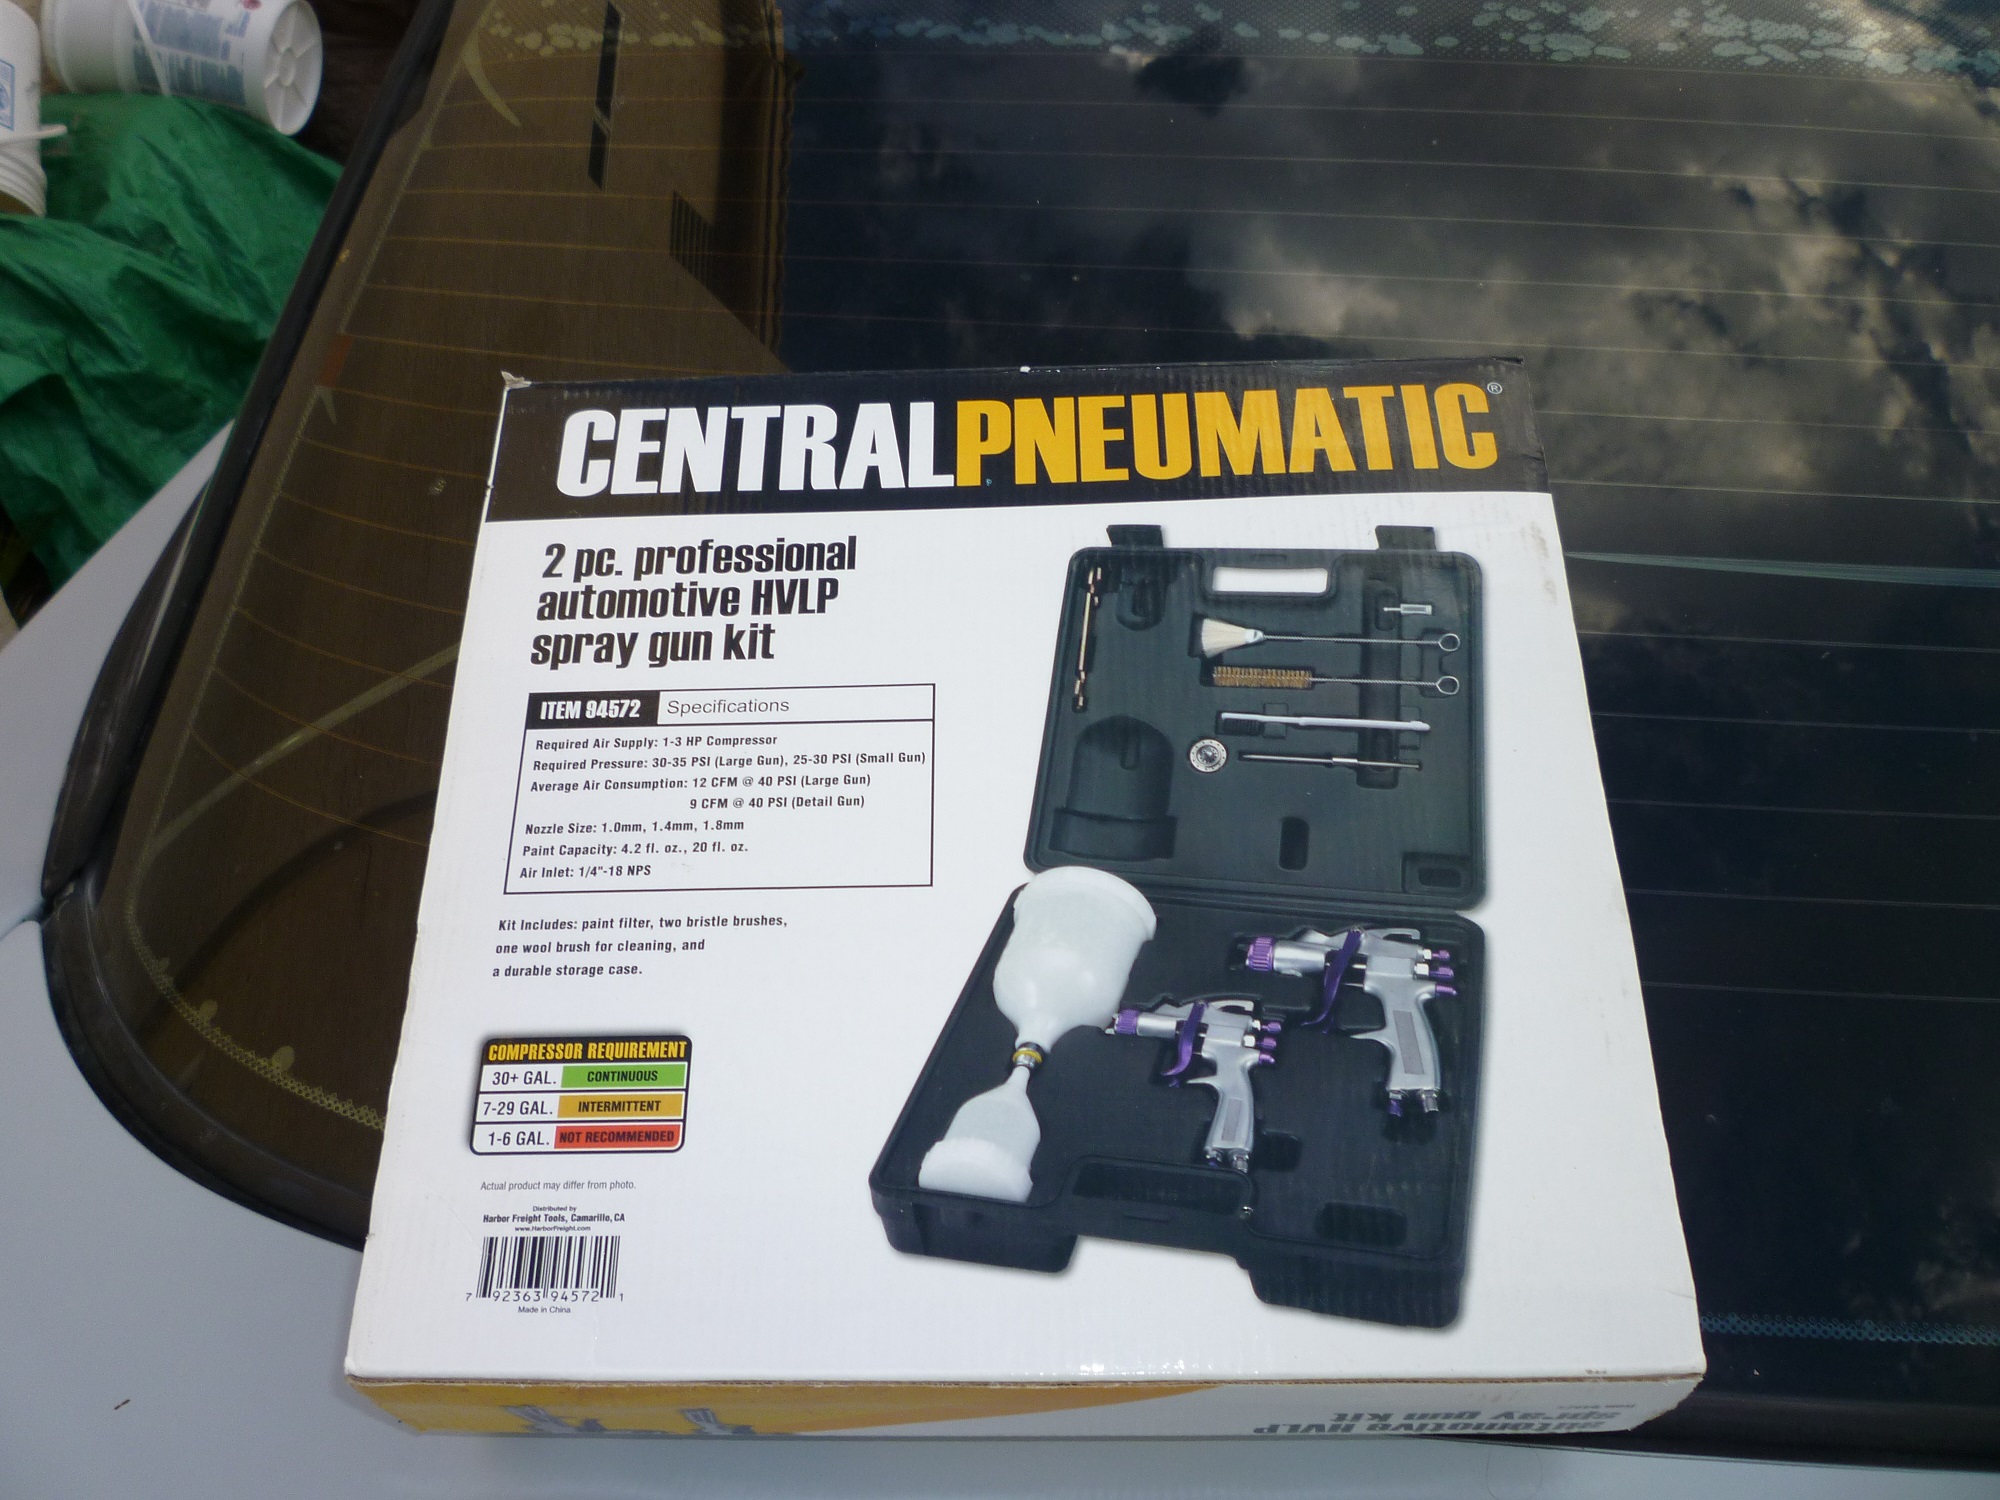
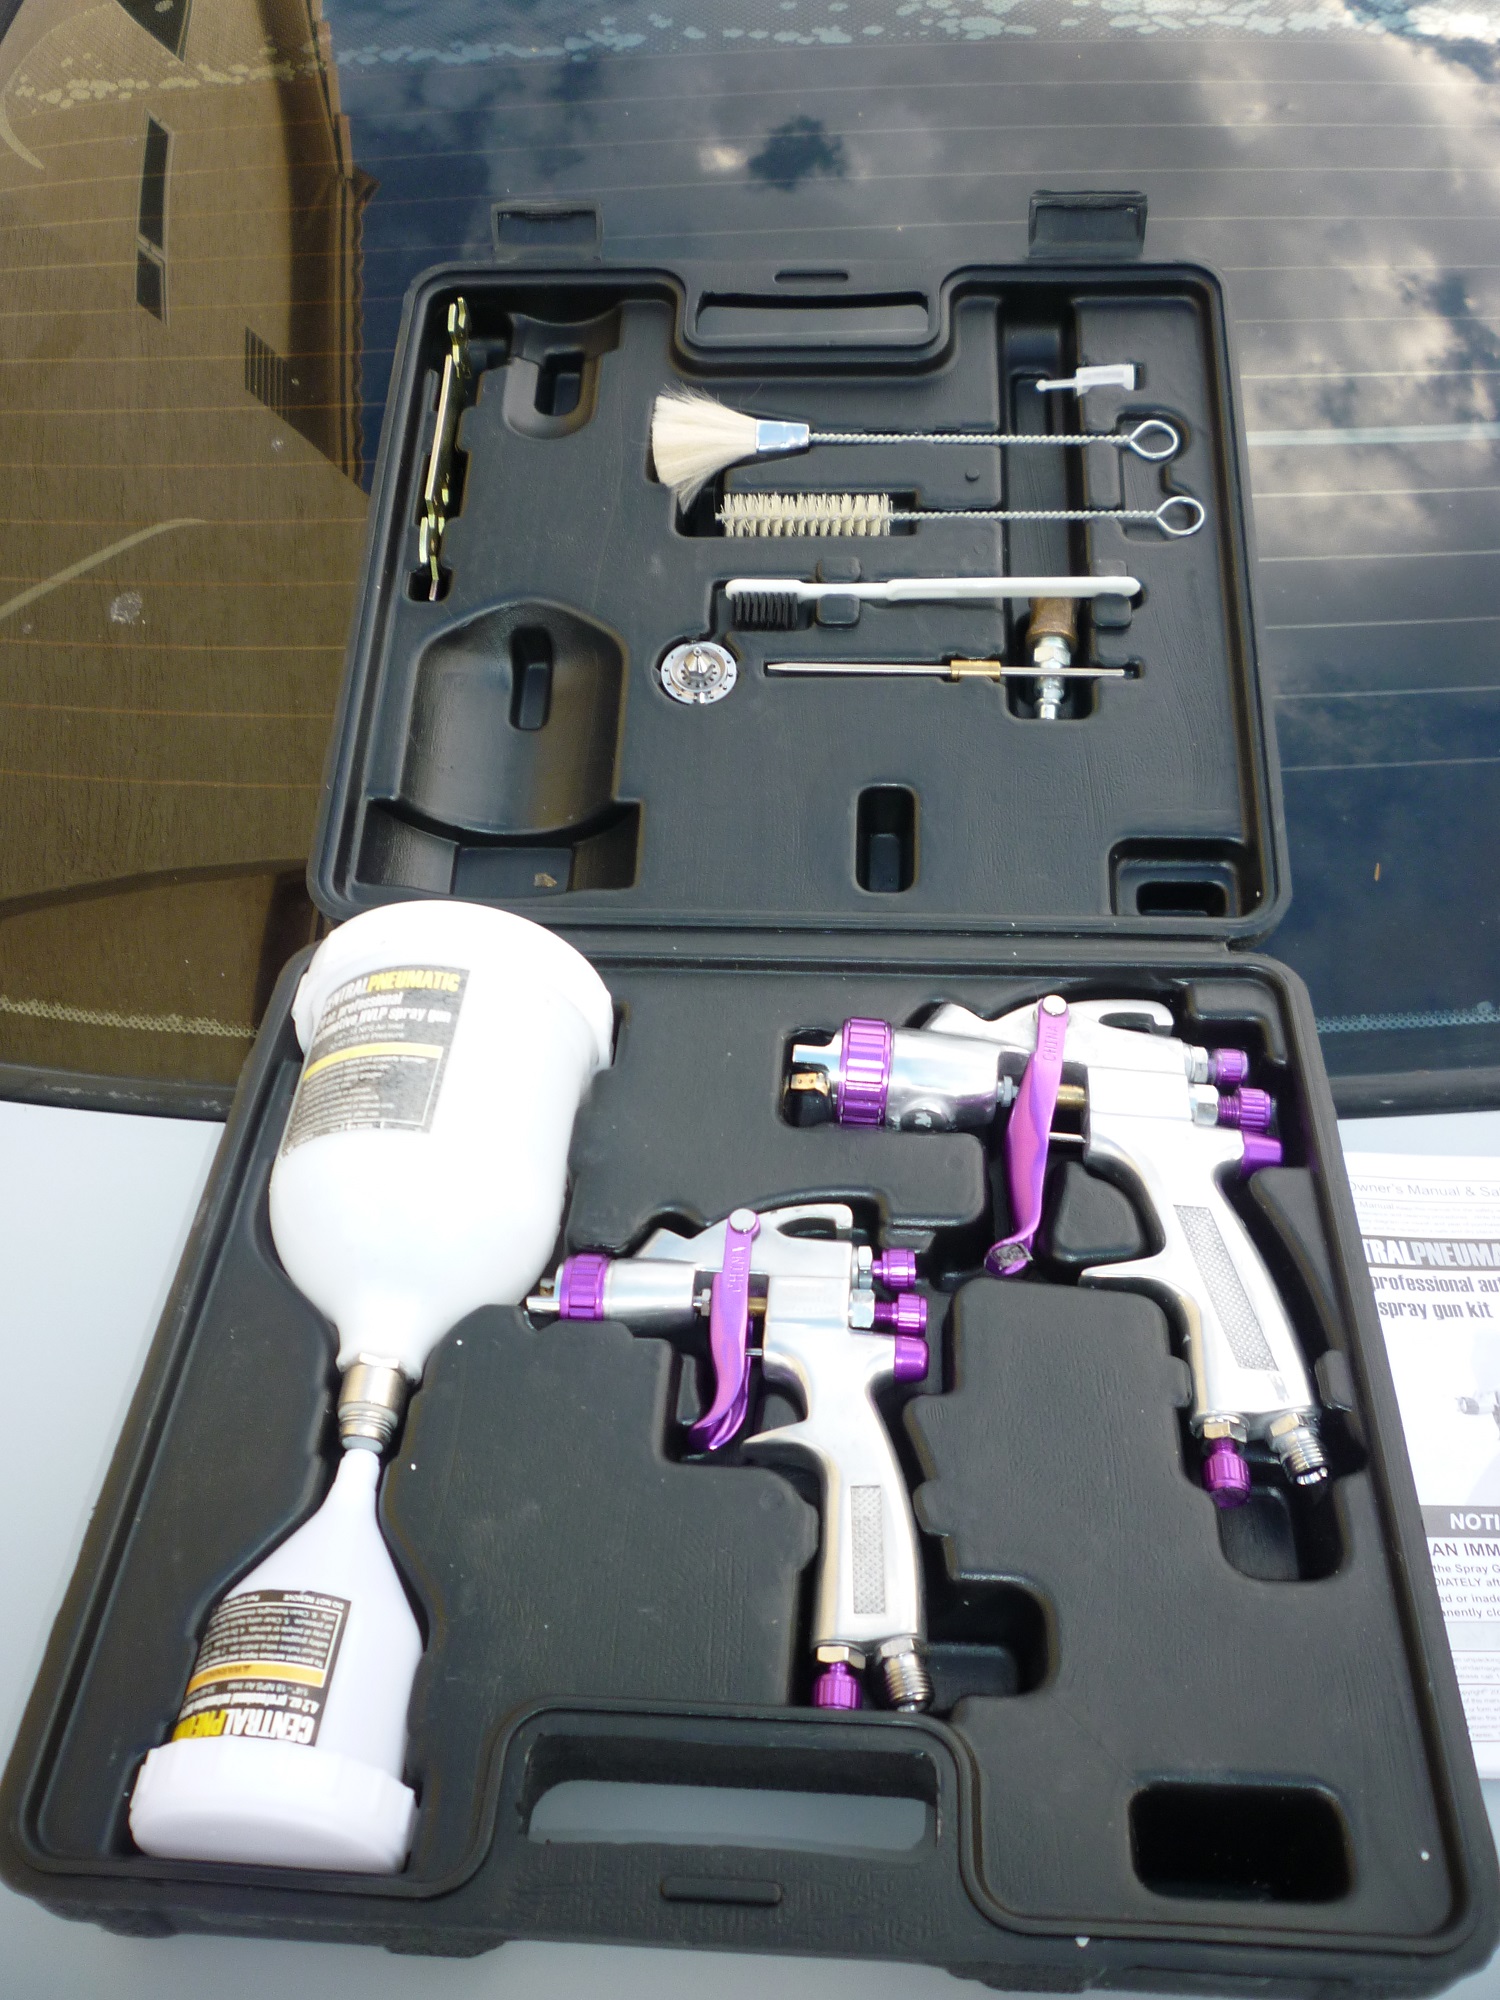
The car is sitting on jack stands, two in front and one in the rear to get it high enough to be able to paint under the rocker panels. (I'm not sure how the pictures will work, may change this mid stream) that also helps the bad back from bending a lot. The damage caused by the failure of the clear coat has been largely successfully removed and then block sanded down with 240 wet dry paper, dry. and then painted over with 2K primer before it had a chance to be affected by the weather. (2,3) The material used was a urethane primer with a 4,1,1 ratio of product reducer and hardener. The car was masked as needed using green masking tape and newspapers. (4) The masking tape consisted of 4 different sized rolls of the 3/8 in, 3/4 inch, 1 and 2 inch. Each has a purpose and having those sizes made it easier to deal with masking(5) in addition an exato knife or two, scissors and a 1/4 in round phenolic rod with ends sanded to a wedge shape all helped to get the masking tape laid down in tight corners when needed. While I do not claim to be a good painter, this is not my first rodeo when it comes to painting cars so I am comfortable at it. I paint out side on a cement slab behind my garage protected from the wind somewhat by the house and the back door of the garage on the west side of the house. Days like today I start at sunrise about 4:30 or so and must accomplish my goals by 10AM which is when the sun goes past the roof of the house and the temperature sky rockets, today to 110 degrees. (6,7) I have a bottom line commercial compressor purchased new some 20 years ago and a gravity feed package of spray guns from harbor freight one of which has the large nozzle for primer the other a small gun for jams and such. I use bits and pieces of mailed hard paper or plastic flyers to shield for over spray while spraying in tight quarters and also have an expensive spray gun for good quality paint work.
I also use a cheap harbor freight air brush for small detail work if needed.
The primer will be color sanded prior to painting per work sheets supplied with the paint and the final coats will be single stage acrylic enamel simply because it will work well with the base of the car in it's present state. When this is done the next car is my wagon.
(8) and with that lets see if they will up load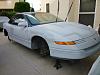

Hmm, I think I did something right
Well not exactly right but some of the pictures seem to have came out correct and can be deciphered from the text.
If there are any questions I guess they can be addressed too.
Last edited by uncljohn; 08-31-2016 at 12:11 AM. Reason: I have no idea what I am doing!

